Target Acquisition GUI
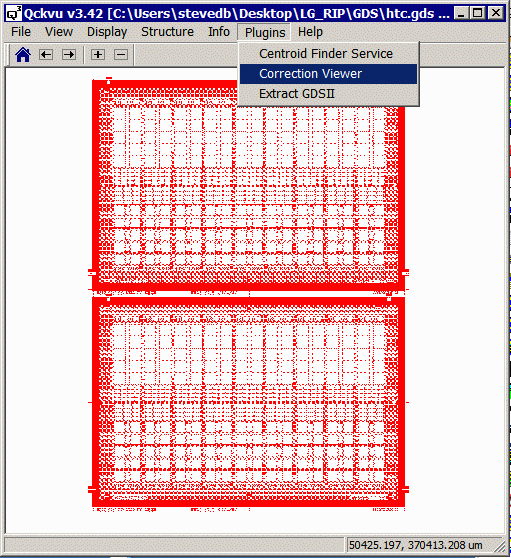
To use the Correction Viewer (Target Acquisition) plug-in, load a GDSII file; then click on the Plugins menu item and then select from the pulldown: Correction Viewer.
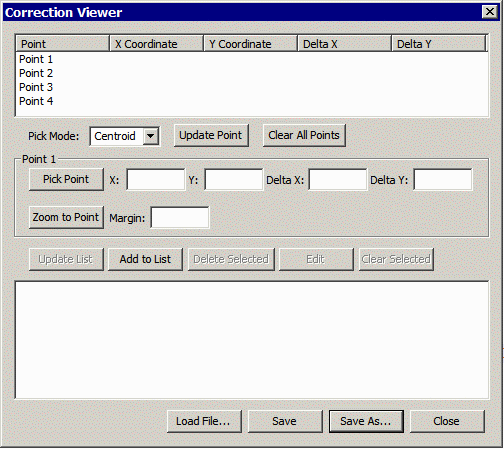
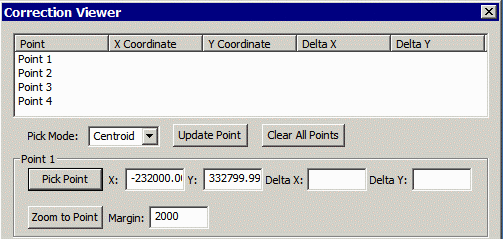
The Correction Viewer dialog should appear:
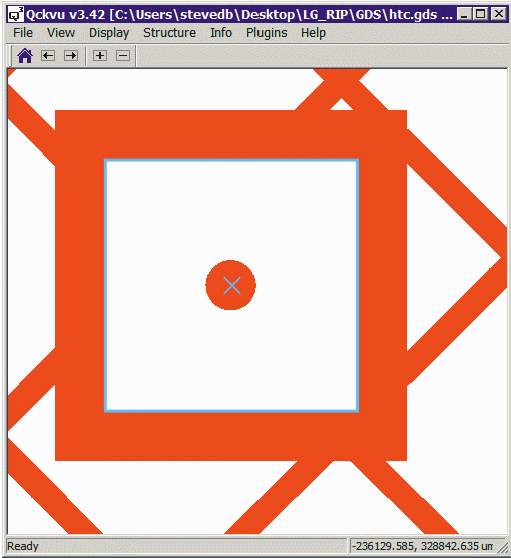
Now zoom in on a alignment target or fiducial you wish to acquire:
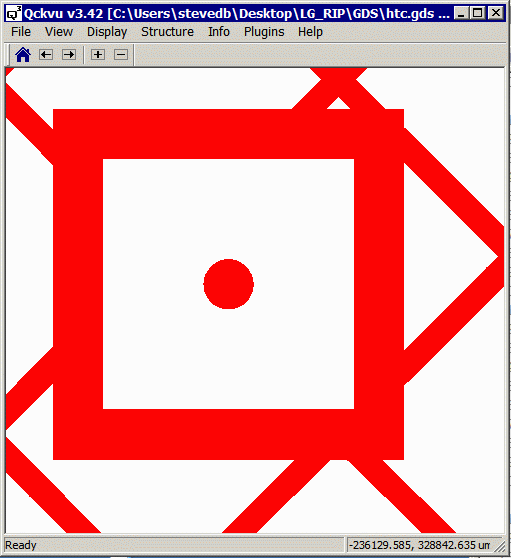
Notice that this target has no boundary vertex in the center; therefore you will have to put the Correction Viewer's Pick Mode into Centroid.

Now click inside the target's box. You can also click inside the small dot. Either should provide similar results as they both form a closed boundary with the same centroid.
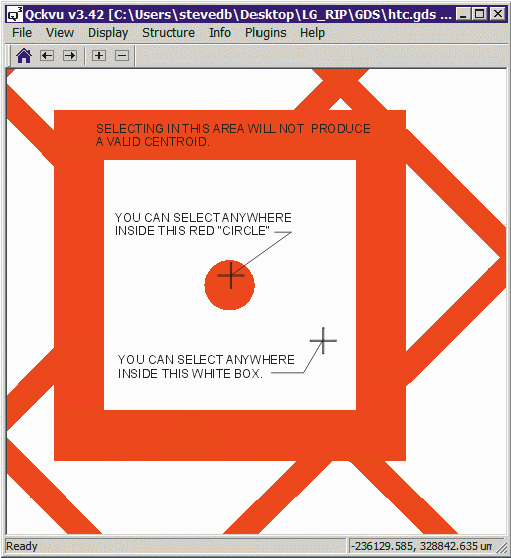
Assuming you clicked in the "white" area you should immediately see an X marking the centroid and a box showing the boundary that the plug-in determined was the surrounding boundary.
This coordinate will be automatically transferred to the dialog box.
To add them to the coordinate list click the button Update Point.
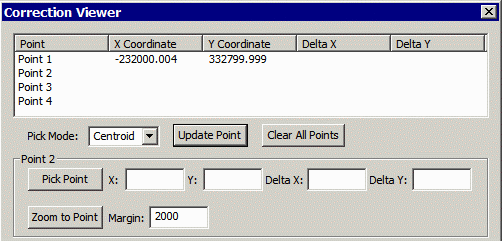
Now navigate to the next target and zoom in around it. Click on Pick Point and then Update Point to enter the coordinate of your second target.
Repeat for target's three and four.
Note: this initial version of the program requires that you work with 4 sets of points at a time. Future versions will not include that contstraint.
Once you have defined 4 targets you can add them to the target "list" in the lower window. Use the Add to List button.
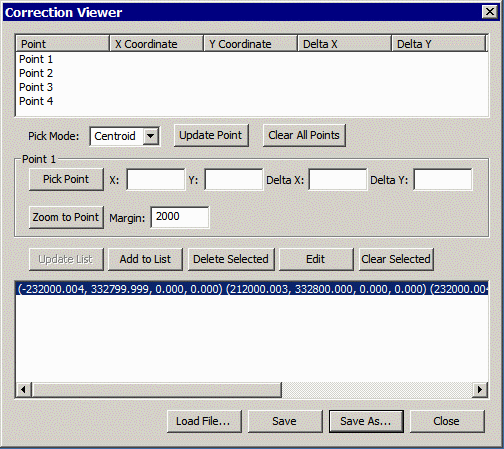
The long string of target coordinates can be saved to a text file using the Save or Save As ... button.
