Read3Di Web Page Header


GDSII Spiral Inductor

ICs can incorporate spiral inductors or even MEMs circuits such as accelerometers or strain gauges.

What if given a GDSII file, your job was to create a 3D model in Solidworks? How would you approach the problem?


Qckvu3

Artwork's Qckvu3 can be equipped with a simple 3D Extractor plug-in. The plug-in allows the user to specify a window and to define a stackup of layers. There are four types of layers:


    DIFFUSION - these start at Z=0 and extrude downward by the given amount. They do not stack up. You can define as many diffusion layers as desired.

    CONTACT - this is a special via layer which goes between M1 and either POLY (if POLY is present below M1) or to the top of the diffusion layer.

    POLY - this layer starts at the Z=0 and extrudes upward by the given thickness

    METAL - these layers start on top of POLY and stack up. Normally there is a via layer between each metal layer.

    VIA - these layers lie between METAL layers and provide connection between two adjacent metal layers.
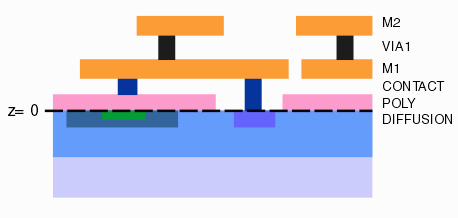
  simple stackup


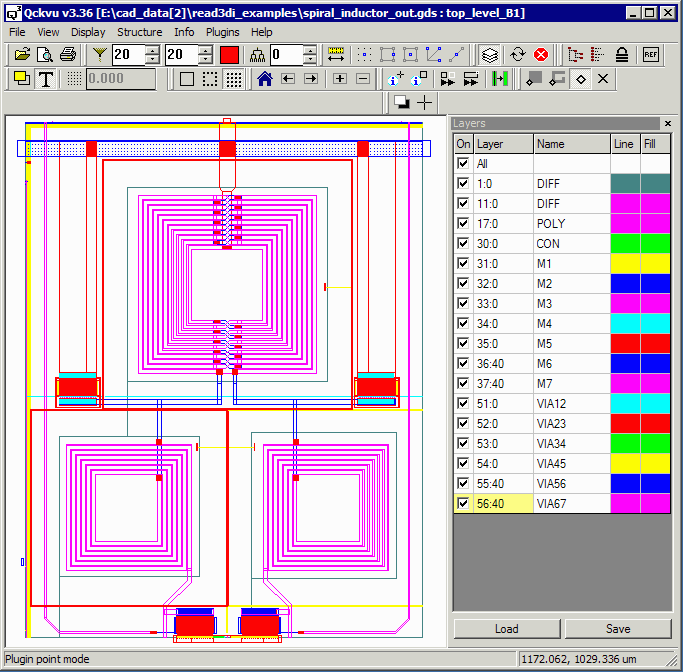
We start by loading our file into Qckvu3 and turning on only the layers we wish to convert to 3D.

GDSII for inductor layout


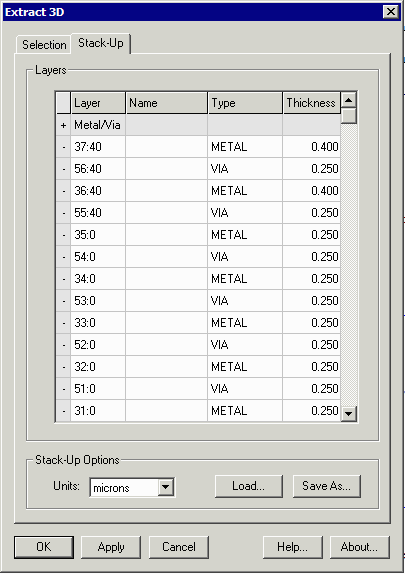
We then use the Extract 3D plug-in to define our stackup layers and their thicknesses.

Then export a 3DI file that represents this in 3D.

  stackup dialog


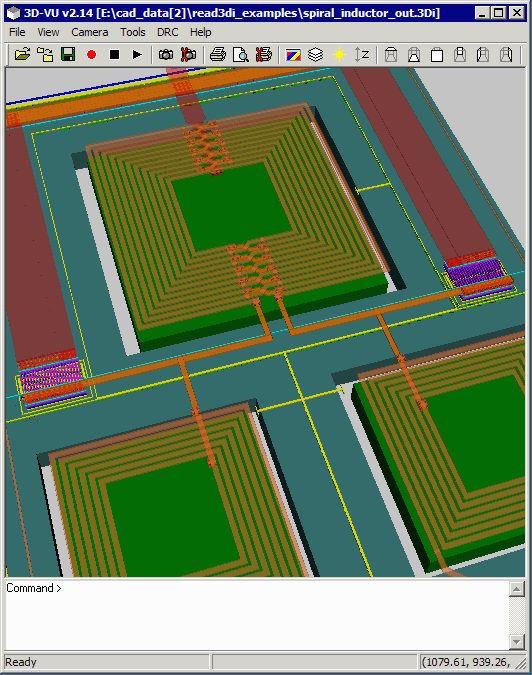
Here is a view of the 3DI file

  3DVU


Importing into SolidWorks

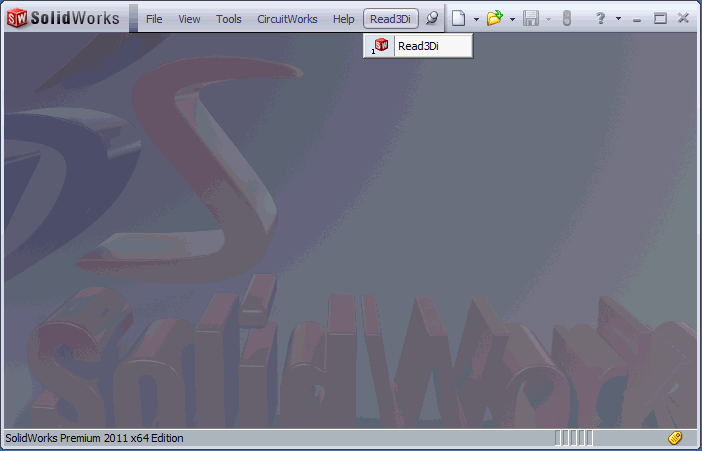
After installing the Read3Di add-in, just click on it to open the dialog inside of SolidWorks.

Read3Di Drop Down


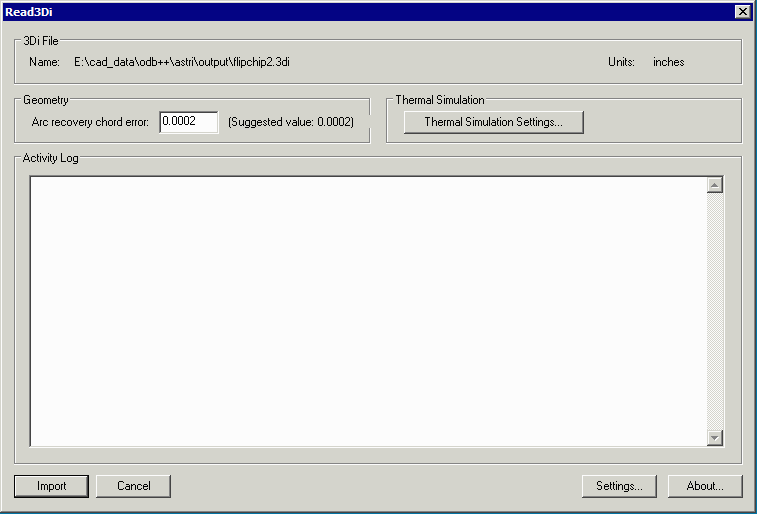
Select the file to import into SolidWorks and then hit Import.

  read3Di dialog


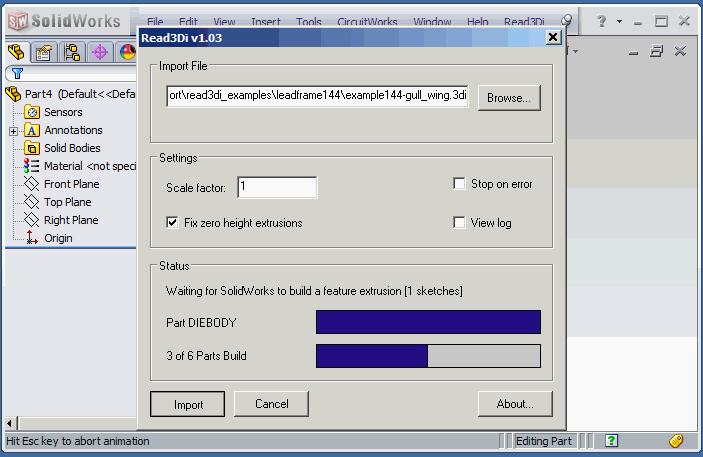
Read3Di will scan the 3Di file and then systematically import the collection of objects into SolidWorks. It creates a solid object for each element in 3Di and groups these into parts based on their input layer and input characteristics. Finally, it creates an assembly that references the parts.

This example took about 1 minute 20 seconds to run inside of SolidWorks 64 V11.


read3Di dialog


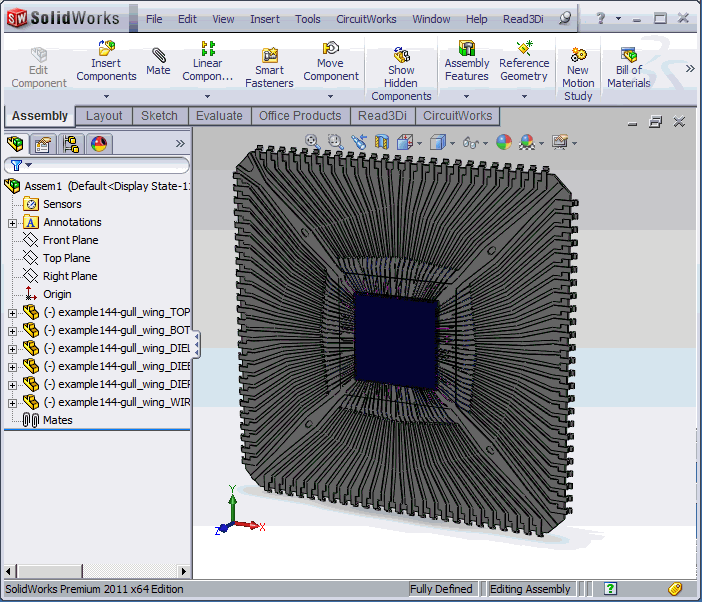
Upon completion you will see an assembly of parts in SolidWorks. You are now ready to do any 3D analysis that your project requires.


completed assembly in SolidWorks


Download Samples Video Tutorial Revision History Price