First Time Installation
QckRip is distributed as a self installing executable. It is normally downloaded from Artwork's ftp server and the file name will look like this:
qckrip.win64.v102.exe
win64 indicates this is a 64 bit Windows program.
v102 indicates that this is version 1.02
Starting The Installation
Double click on the install executable to start this process. (Depending on your machine's security settings, you may want to run the installer as Adminstrator)
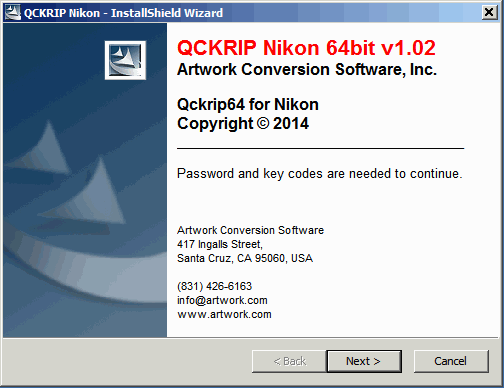
Introductory Screen
Click on the Next > button.
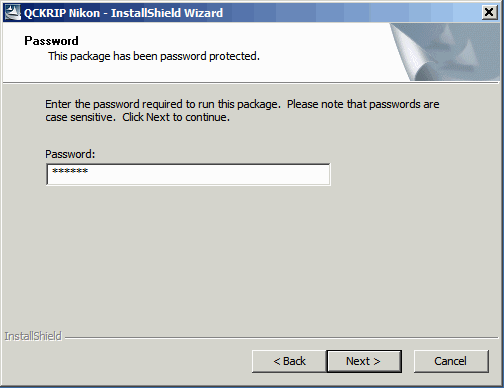
Entering the Install Password
Type in the "install password" that you were provided by Artwork. This will cause the Next button to from gray (disabled) to black (active). Then click on Next >.
The installer will start up and unpack the required files ...
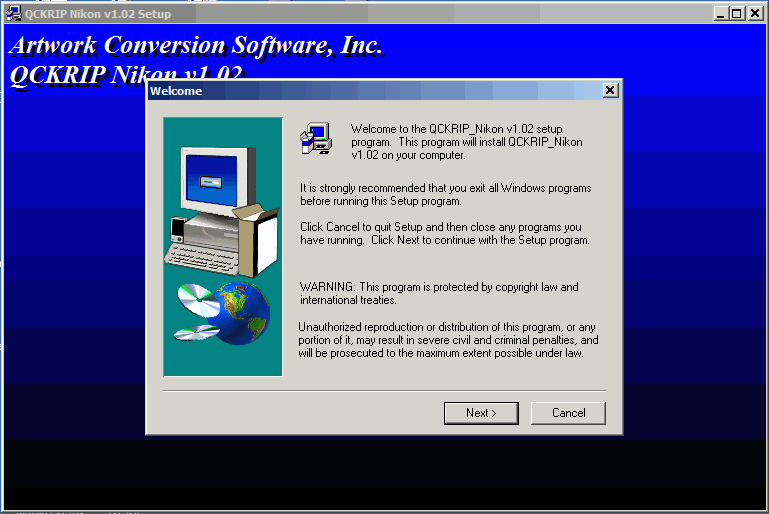
Close other Windows ...
You will be reminded to close other "windows" before continuing. Some running programs may block or greatly slow down the installation. This is particularily true of virus protection software. Click on the Next > button.
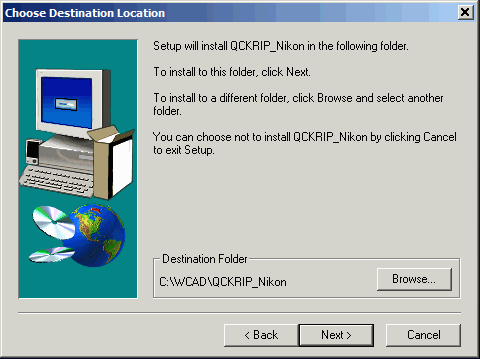
Decide Where to Install the Program
The user can accept the default installation location or use the Browse button to select an alternate location.
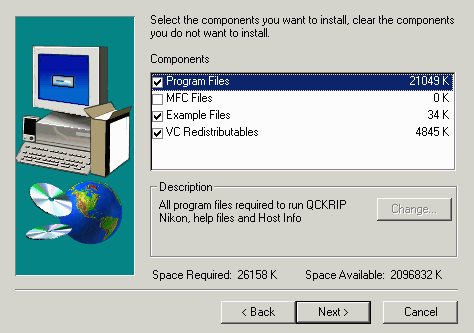
Selecting What to Install
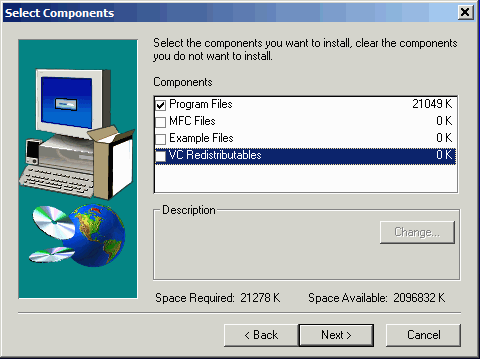
For a first time installation the user should keep all of the "selected" options. For upgrades to an existing installation it is generally fine to only select the Program Files.
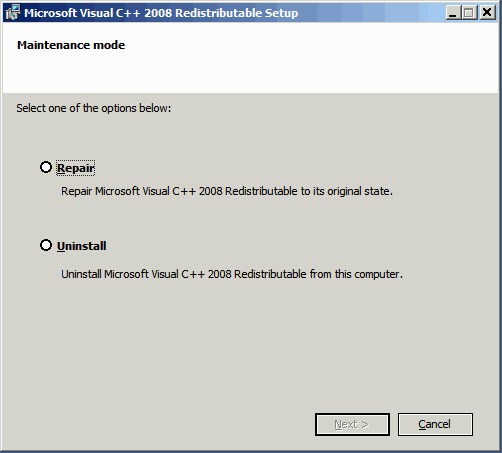
VC Redistributables
If you checked to install the VC redistributables (which are Microsoft libraries that are needed to insure correct operation of the program) you will see a screen as shown below. Unfortunately this screen is a bit confusing. You should always check the Repair option. This will add the VC redistributables if they are not already present; if they are already present on your machine this will simply re-install them. Apparently the installer is unable to determine whether the VC redistributables are already present and bypass this step.
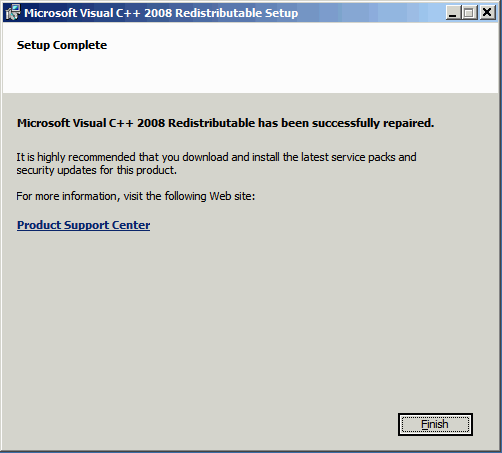
Assuming you picked Repair you will see this screen one the VC redistributables are installed. Click on Finish.
Licensing
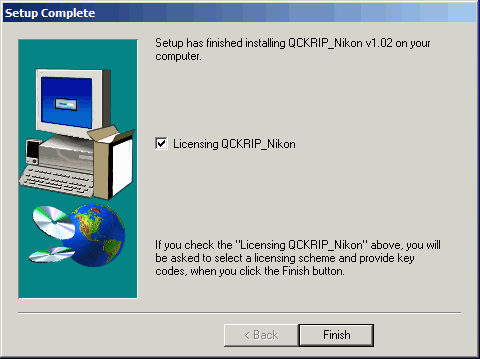
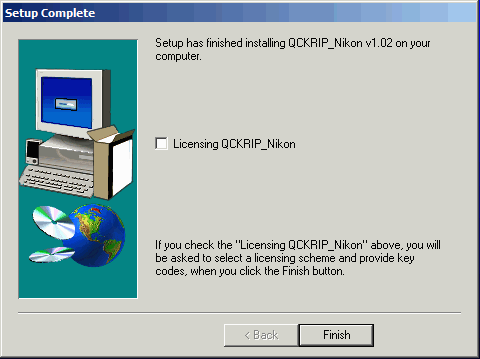
For a first time installation one should check the Licensing option and click on Finish. For version upgrades to an already installed program (assuming you install into the same directory as the previous install) you can uncheck the box and the upgrade is complete.
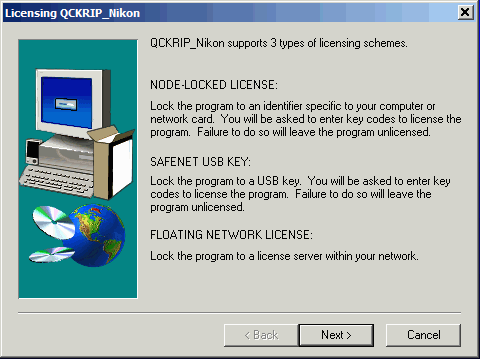
Selecting the License Type
It is important to select the correct licensing option. If you select an incorrection option (for example, you select floating when you have node locked licenses) your program will fail to execute. Please refer to the email you received from Artwork to determine whether your license codes are node locked or floating.)
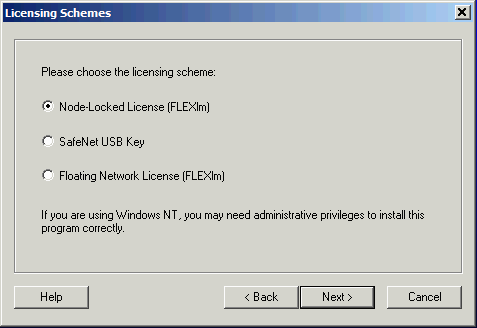
Node Locked Licensing
In the screen below, node locked licensing has been selected. This means that the application is locked to either your computer's network card (via the ethernet/MAC address) or via the main drive's disk serial number.
Floating Network License
In the screen below, floating network licensing has been selected. This means that the application will contact a flexlm license manager to get permission to execute. This also implies that somewhere on your network the license server has been set up and is already working. The user should have an environment variable, ARTWORK_LICENSE_FILE, already set up and pointing to the flexlm license server with the correct port.
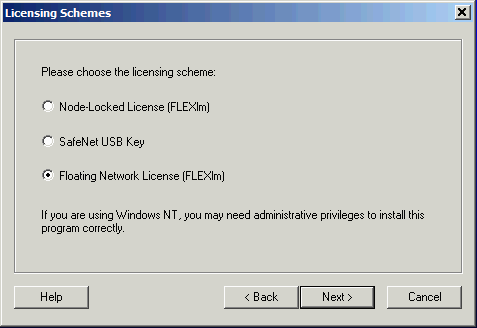
No license codes are entered in this case when the application is installed.
Entering Node Locked License Codes
If you selected Node Locked license then you must now "paste" in the license codes you received from Artwork via email into the window provided. Then click on Finish.
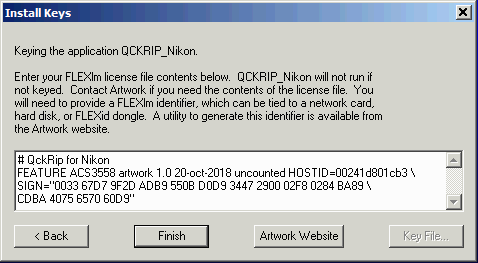
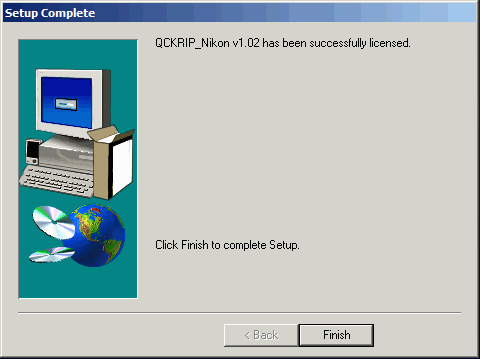
Assuming the license codes are correct the installer will confirm that the application has been successfully licensed.
What Files are Created/Modified by Licensing
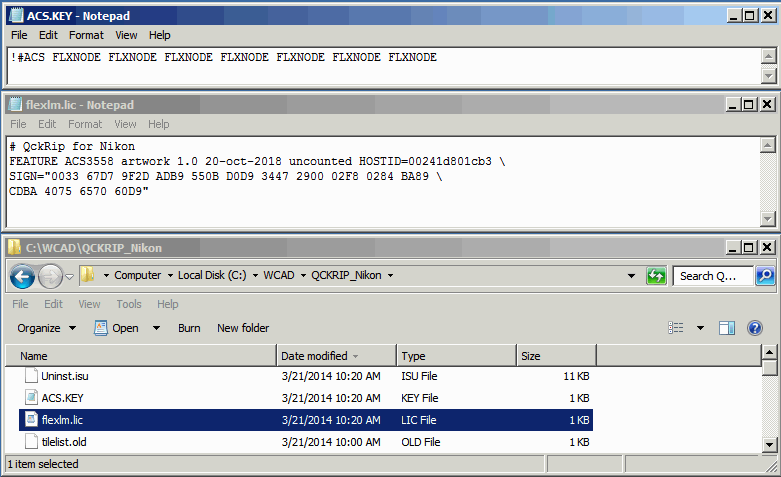
For a node locked installation two files are required. ACS.KEY will contain a string:
!#ACS FLXNODE FLXNODE FLXNODE FLXNODE FLXNODE FLXNODE FLXNODE
and a file called flexlm.lic will be created; the node locked license codes are placed in this file:
# QckRip for Nikon
FEATURE ACS3558 artwork 1.0 20-oct-2018 uncounted HOSTID=00241d801cb3 \
SIGN="0033 67D7 9F2D ADB9 550B D0D9 3447 2900 02F8 0284 BA89 \
CDBA 4075 6570 60D9"
For a floating license installation the ACS.KEY file will contain the string:
!#ACS FLXLMGR FLXLMGR FLXLMGR FLXLMGR FLXLMGR FLXLMGR FLXLMGR
Upgrading a Current Installation
When upgrading an application that has already been installed and licensed the user can do the following:
a) select only the Program Files for installation
b) uncheck the licensing when prompted to go the the licensing step.
Program files will be replaced but the license files will not be deleted or modified.
This only applies if the upgrade is installed in the same location (i.e. directory) The installer will default to the previously installed location.