
|
| Numbering The Fingers |
|
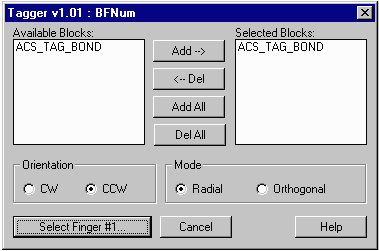
a.) From the Tagger pulldown click on BFnum... a BF Num dialog box will open. b.) Make sure the Selected Block is ACS_TAG_BOND. This is the block that will be numbered. c.) Select Orientation: CCW and Mode=Radial. d.) Click on Select Finger #1. Control will be passed to the AutoCAD display. |
 The BFnum dialog box. The ACS_TAG_BOND was created by tagger. |

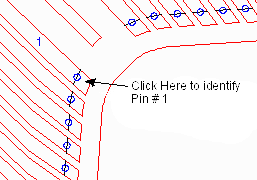
Zoom in and click on the circle for Pin 1. BFnum will then number all fingers CCW. |
e.) Zoom in to the finger in the upper left area of the package and click on (or near) the circle defining pin 1. f.) As soon as you click on the finger the program will start numbering. In a few seconds it will be complete. |

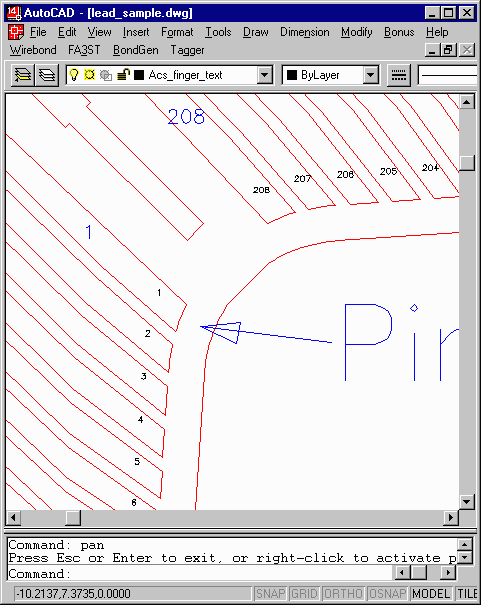
You can see the small numbers placed by BFNum. (some layers have been turned off for clarity.) |
|
Your’e done identifying and numbering the package’s fingers. If the package has a paddle to which wirebonds can be attached you should now go to the next step, which is to define the paddle boundary. |
| Page | 1 | 2 | 3 | 4 | 5 | 6 | |