How to open multiple sessions of qis on the same server?


This page describes the basic procedure for running a few qis sessions on the same server in floating mode.

In a typical node locked mode, qis allows you to start one session on a port of your choice. QIS can also support running several sessions on the same server, each session will start on a separate port.
This is allowed in floating mode when more than 1 floating license is available.


multi_start_qis.gif

STEP 1

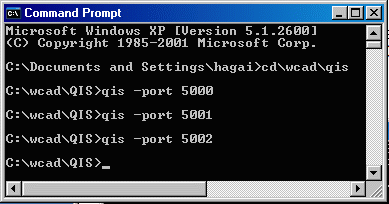
Assuming QIS is already installed in floating mode, and you have a few licenses available, go ahead and Start your qis on either Windows or UNIX. In this example, we will run the qis.exe on Windows. QIS can run anywhere on the network as long as it has access to the GDSII file we want to process.
We will start 3 sessions of qis on the same server, each uses a different port. We can have 3 clients running at the same time; Each one uses a different port of qis.


connect_qis.gif multi_connect1_qis.gif

STEP 2

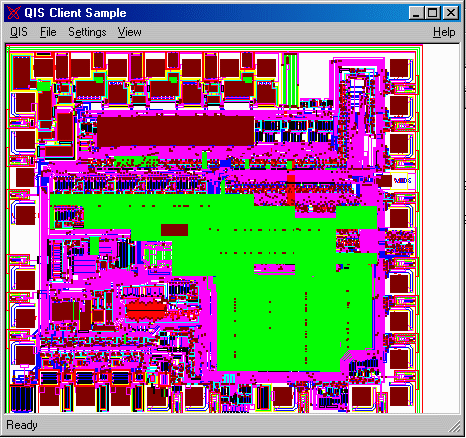
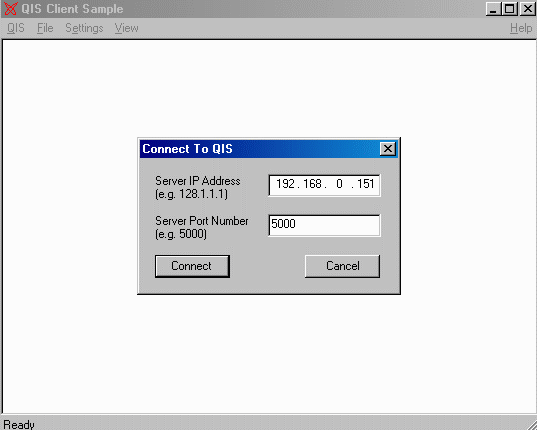
At this point, you will need to start the QIS Client application. It may be our QIS Sample Client which we supply for free, or the more advanced QISC, or your own client. In this example, we will start our QIS Sample client which is located in the QIS installation directory using port 5000. It will prompt you to enter the IP address where QIS is running and the port number you started it on. Please enter the correct values, and hit Connect.

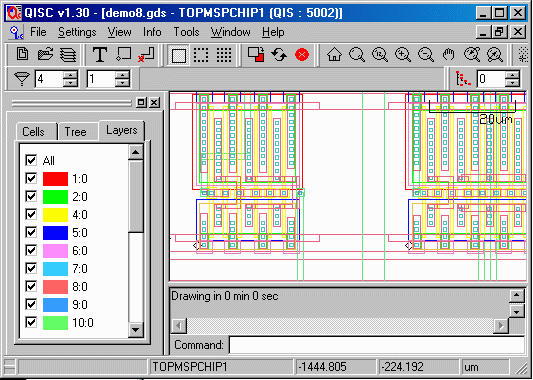
We will also use the QISC to open a second session using the qis running on port 5001.
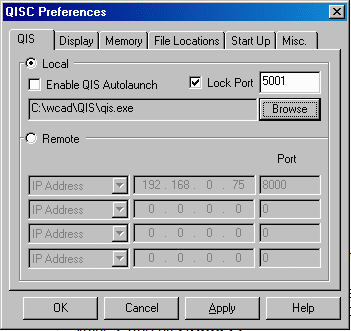
From the Main Menu of our QISC, Click on File > Preferences. Set the proper IP address where qis is running and set the port number 5001. We will also use the QISC to open a third session using the qis running on port 5002.


STEP 3

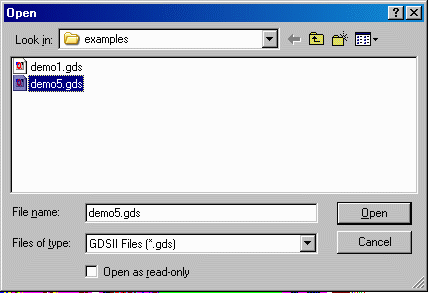
From the main menu of the QIS Sample Client, Click on the File > Open button. Browse to select the GDSII file you want to process. Open the file and you should be able to see it on the screen.

select_gds.gif


gdsii_full.gif


STEP 4

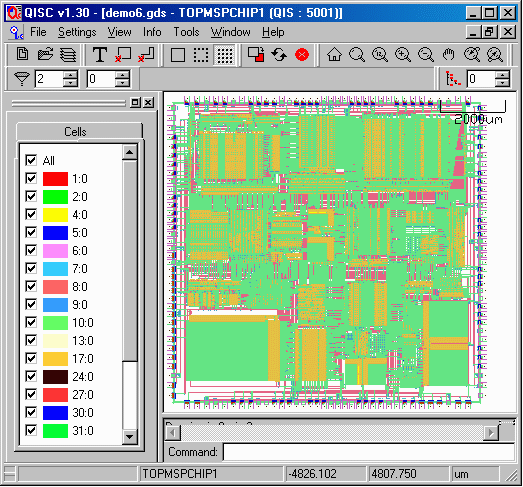
From the Main Menu of our QISC, Click on File > Open. A new window will come up. In this window, select the next GDSII file you want to load - in our example, we picked demo6.gds.
The file will be displayed a few seconds later...

multi_demo6.gif


STEP 6

From the second QISC session running on port 5002, Click on File > Open, and open a file of your choice. It can be the same file as one of the first two, or a new third file.

multi_demo8_zoom.gif


Other things you should know...

1. Start QIS with port 0 and it will automatically find a free port number.  
   The port number used will then be printed out to stderr.  e.g.
    
    QIS Startup Status(0)
    Port Number(34762)

    This is helpful if the free port numbers available for QIS purpose are not known.  
    However, if a range of port numbers are reserved for
    QIS purpose, then 5000, 5001, 5002, etc. would be a better setup. 

2. When a client program sends Open_GDSII or Open_OASIS to QIS, the file name/directory 
   refers to the file on the QIS server machine file system.  
   A client program can send Get_Files_In_Directory to a UNIX or Linux QIS (QIS for 
   Windows does not support this command) to traverse the file system of the QIS machine.