
Installation and Licensing


Qckvu3 for Windows is distributed as a self installing exe using Installshield.
The software is normally downloaded from Artwork’s FTP server and saved on your machine. The installer file normally has the name qckvu3.win32.vXXX.exe where XXX is the
version.To start the install double click on the installation executable.


Entering the Install Password

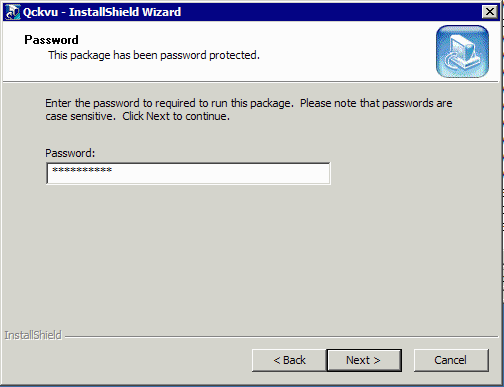


You should have received along with your license codes, a password for running
the installation. You will be prompted to enter this password immediately upon
starting the installer. Type it into the field provided -- it is case
sensitive. If you have correctly typed it in, the Next > button will light up enabling you to continue the installation process.


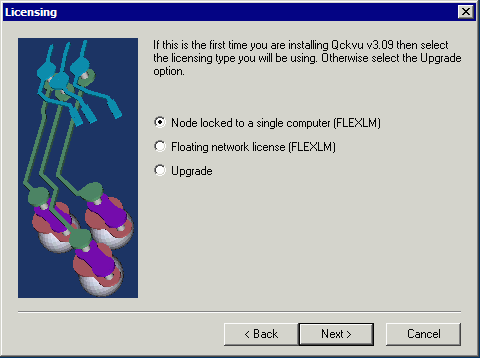

Select the License Type


Qckvu3 can be licensed in two ways - node locked to your machine or set up to
get a license from a network license manager. This example assumes you received
node locked license codes from Artwork. In that case you should select the
option: Node locked to a single computer (FLEXLM). However if you are
installing a newer version over the old one you can select the Upgrade option
-- your previously entered license strings will be used.


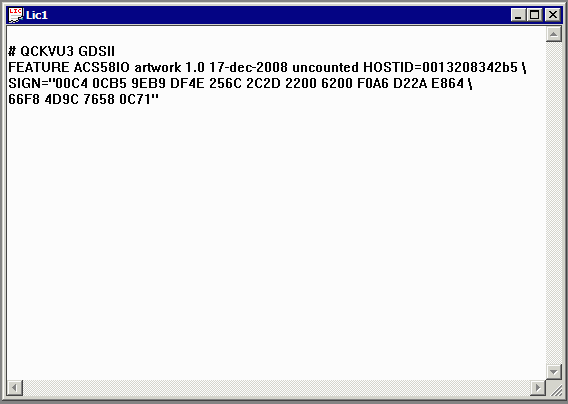

Entering the License Strings
You should have received an email from Artwork containing license strings tied
to either your machine’s hostid or its disk serial number. The email will contain lines similar to
those shown at right.


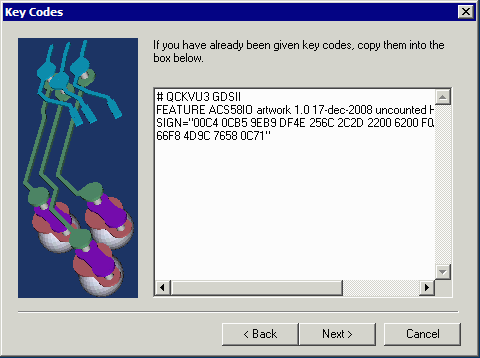
Paste License Strings
We recommend you copy and paste your license strings from the email -- typing
them into the window is just asking for trouble.
Then click on the Next > button to continue.



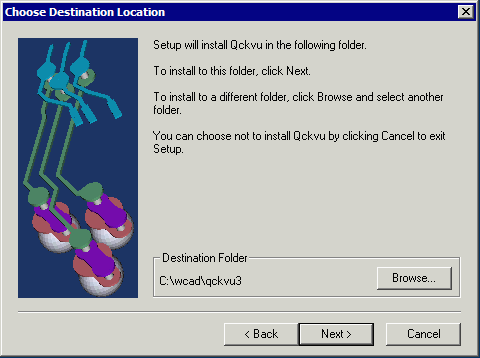

Decide Where to Put Qckvu
The next screen will ask you where you wish to install Qckvu. If this is the
first installation it will recommend C:\WCAD\QCKVU3. If this is an upgrade over
a previous installation it will prompt for the previous installation directory.
You can change the location by using the Browse button.
Once you have selected the destination directory click Next >.
The installer will upack the release, save it to your desired destination,
update the Windows registry and create a program group for Qckvu3 and create a
shortcut on the desktop.


