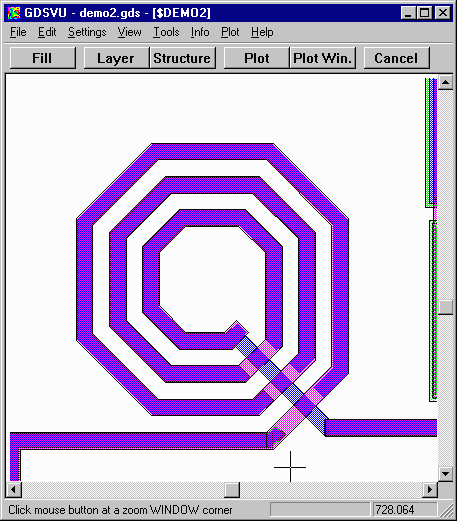
Step 1 would be to zoom in on the area of interest and to turn on all layers of interest (and to turn off all layers that we don't want to deal with.)
|
In this tutorial we are loading the GDSII file called demo2.gds (provided
as part of the GDSVU/W and Extract example set) and we wish to analyze
the spiral inductor. We don't want to analyze the entire MMIC circuit so we are going to extract out the inductor. Step 1 would be to zoom in on the area of interest and to turn on all layers of interest (and to turn off all layers that we don't want to deal with.)
|

|
The eXtract Tools Pulldown To access the DXF extraction/translation use the TOOLs pulldown. If the options for Extract are not available (i.e. "grayed out") then this means the license keys you received do not authorize the use of Extract which is an add-on option to GDSVU. |
| Before we perform the extraction we should make sure the options are correctly setup. To do this click on Extract Setup... | |
|
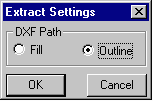
Extract Settings Dialog Box To produce DXF that is compatible with Ansoft you must select the Outline option. This converts each GDSII path with width into a outline in DXF. |
|
|
Performing the Extraction To extract the spiral inductor use theTools pulldown and click on Extract.Use the cursor to define a window that surrounds the spiral inductor. When you release the cursor the extraction process will begin. 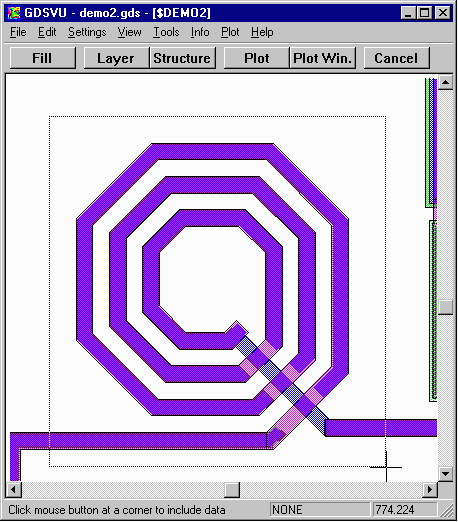 |
|
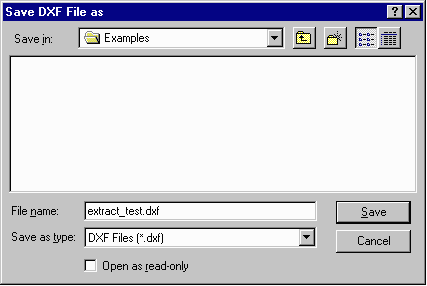
Saving the DXF File You will be prompted to select the name of the AutoCAD DXF file to be created. Enter the name and hit Save. |
|
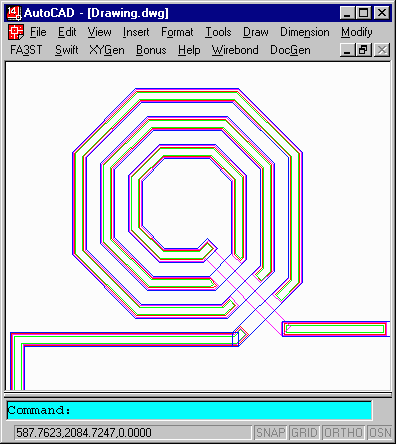
|
AutoCAD View of Extracted Data If you bring the resulting file into AutoCAD you will see data on each GDSII layer. All data is zero width closed polylines. There are no blocks in the data. It is ready to be brought into Ansoft's field analysis tools. |
|
Top of Document |
Extract Page |
Artwork Home |