Translating AutoCAD Files to Gerber with Polygon Fill

This page describes the basic procedure for translating Gerber files and filling polygons using a technique known as Polygon Fill. If a figure is drawn using an aperture that has been defined as POEX, then the program and plotter knows it is getting the boundary of the polygon and will automatically fill the interior.

This procedure is more efficient than using a multiaperture fill routine which must consider each vertex of a figure and often takes many strokes to fill polygons. Unlike a round aperture, the POEX aperture has no thickness on it's own.


select_mixer.gif


STEP 1

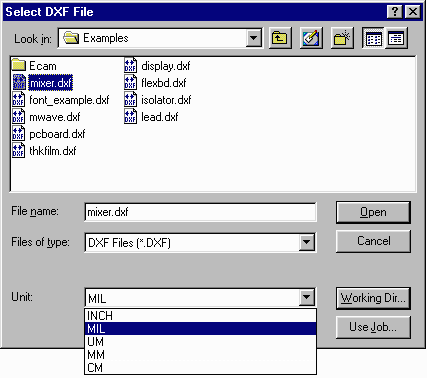
Before opening the file, make sure the proper Units have been selected. If the DXF file was created with MILS in mind, make sure MIL is selected in the Units section when opening the file. Otherwise, the translated file may not view properly.
working_dir.gif

STEP 2

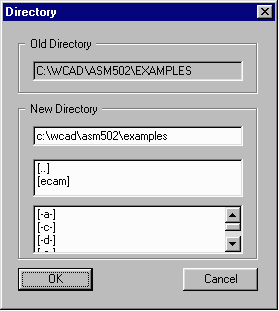
From the Select DXF File menu, click on Working Dir... button to open the Directory menu. Make sure the working directory is the same as the one where the .dxf file is located by Clicking OK.

Now open the AutoCAD file to be translated. For this example we'll use a file called mixer.dxf


STEP 3

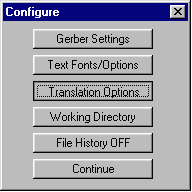
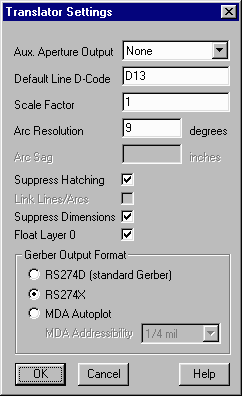
From the ASM 500/502 Main Menu, Click on the Configure Trans button. From the Configure Menu (shown below), Click on Translation Options. The Translator Settings Dialog will appear (shown at right).

Make sure the Gerber Output Format is set to RS274X. Click OK and then Continue from
the Configure Menu.

config_trans_options.gif


trans_setting.gif


STEP 4

From the Main Menu, Click on Set Apertures. If an aperture file has already been created for the .dxf, select it and press open. If not, create an aperture file with the same (or similar) name as the .dxf and press Open. For this example, our aperture file is called mixer.apt.

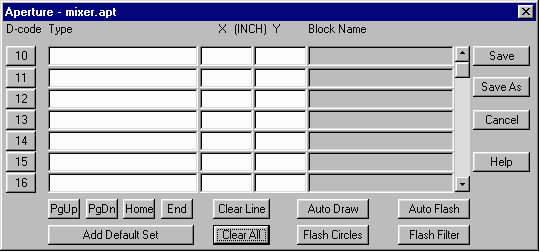
Once you open the aperture file, the Aperture Menu will appear. If you just created the .apt file, there will not be any apertures set. If you've opened an existing one, it will probably have defined apertures in place. If so, clear them so the menu is blank.

mixer_apt1.gif

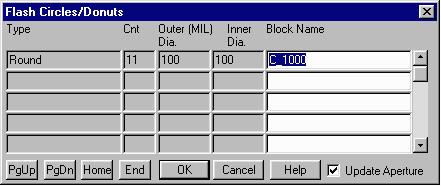
Click on the Add Default Set button. A list of default apertures will appear. Click on the Flash Circles button. The Flash Circles/Donuts Menu will appear with a list of circles and donuts in the .dxf file, (shown below). Click OK to add them to the Apertures Menu.

mixer_flashes.gif

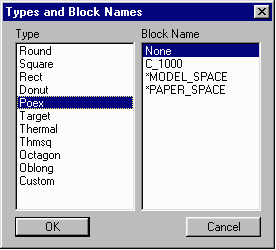
mixer_types_and_blocks.gif


From the Aperture Menu, Click on a blank D-Code Number. The Types and Blocks Menu will appear, (shown at left). Select Poex from the list of types and Click OK.

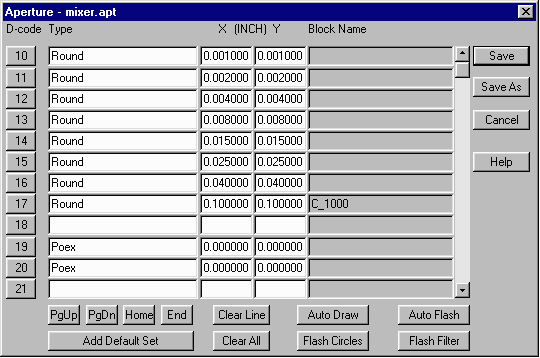
Repeat this process with another blank D-Code Number. (We've chosen D-Codes 19 and 20 for this example).

Your Aperture Menu should now look like the one below. Press Save to Continue.

mixer_apt2.gif


STEP 5

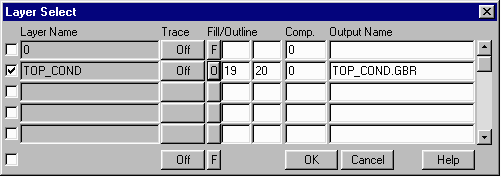
From the Main Menu, Click on the Select Layers button. The Layer Table will appear. Make sure that the layers you wish to translate have been selected with a checkmark next to their layer name. Set each layer(s) to O - for Outline under the Fill/Outline Option. Notice that the two POEX apertures, (19 and 20) have appeared in the table.

mixer_layers.gif

Click OK to close the Layer Table.


start_trans.gif


STEP 6

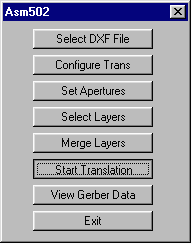
Start the Translation from the Main Menu by Clicking on the Start Translation button.

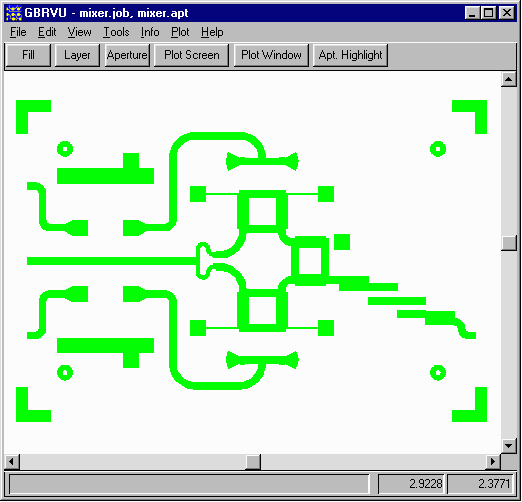
Finally, Click on the View Gerber Data button from the Main Menu to see the Translation results.

Notice that all the polygons in our example have been filled. If you have polygons that are not filled after translating to Gerber in this manner, most likely the drawing has polygons that are not closed. We recommend going back to AutoCAD and closing all open polygons, then re-run the file in ASM 500/502.


gerber_mixer_filled.gif