Unusually Large Gerber Files Generated after Translation
If you've converted an average sized DXF file (50Kb-100Kb) to Gerber and noticed it was unusually large after translation (20Mb or more), you could have one of a couple possible problems.
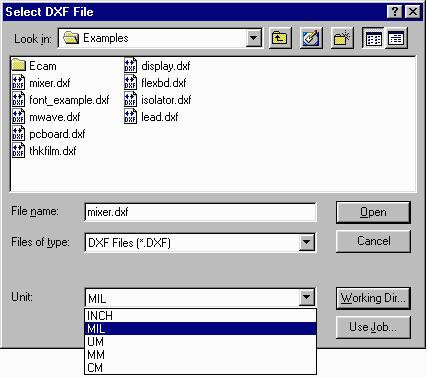
First, check to make sure when opening the .dxf file that the proper UNITS have been selected.
If the DXF file was created with MILS in mind, make sure MIL is selected in the Units section when opening the file.
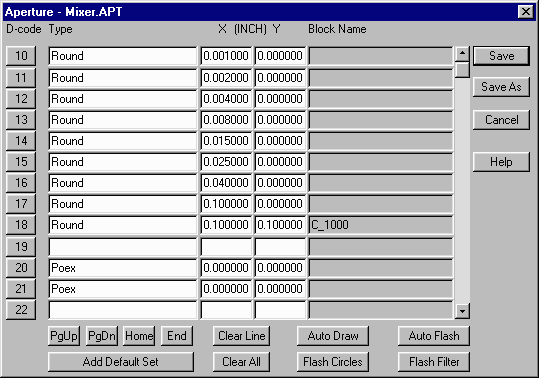
The next thing to check is the Aperture Menu. Make sure to Click the Add Default Set button to get a list of default apertures. If there are circles in the drawing, also Select the Flash Circles option to add them to the aperture list.
If only one very small Aperture is selected (.001), this can cause the Gerber file to be larger than necessary. The reason is that it takes a long time, (and lots of data), to fill polygons with only one small aperture. Consider this the equivalent of trying to paint a wall with a tiny paint brush.
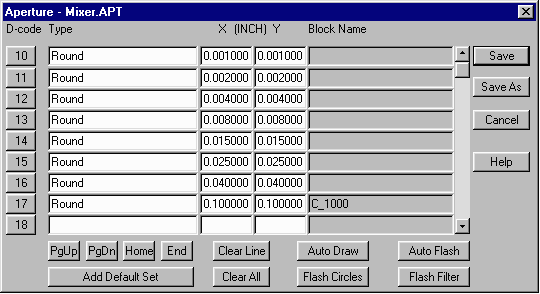
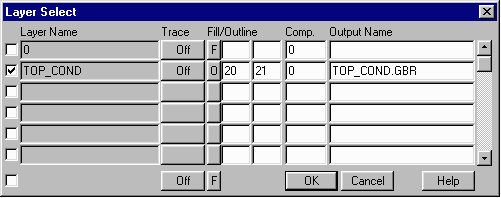
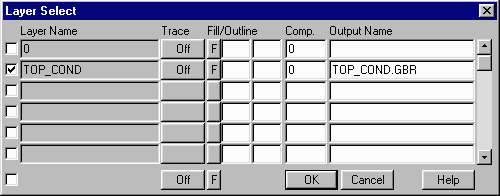
After saving the Aperture Menu, open the Layer Table and make sure all layers which are to be translated are turned ON (with a checkmark), and that the Fill/Outline option is set to F for Fill.
Reducing Files Sizes Even More with POEX
When a polygon is filled using a set aperture, it starts with the outline and continues around the parameter using the list of apertures until it is filled. This can take a long time and create large files. However, if a figure is drawn with an aperture that has been defined to the program and the plotter as POEX, they know to draw the boundary of the polygon and will automatically fill the interior. Unlike a round aperture, the POEX aperture has no thickness on it's own.
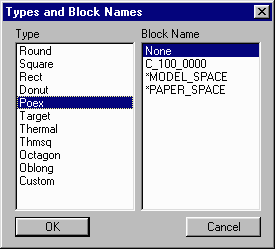
Creating POEX Apertures